
Stylizer Help
Stylizer uses your actual webpage as an immediate starting point for editing your CSS. To start editing, just type the URL of your website into Stylizer's address bar and press Enter—all associated CSS files will be automatically loaded.
You can also open a local HTML file by clicking File→Open, or the keyboard shortcut Ctrl+O (⌘O on Mac).
Stylizer works well as an offline editor as well. To open a CSS file that is not linked to a webpage, use the same Open menu item in the File menu. Stylizer will recognize when a file is CSS and display it in the editor instead of the preview pane.
Back to topIf you are previewing an HTML file that is linked to local CSS files, just click File→Save or Ctrl+S (⌘S on Mac) and Stylizer will save the file in the location from which it was originally loaded.
If you are editing a live website over HTTP or HTTPS, Stylizer cannot determine the location automatically as it can with local files.
There are three primary types of storage to which Stylizer can save:
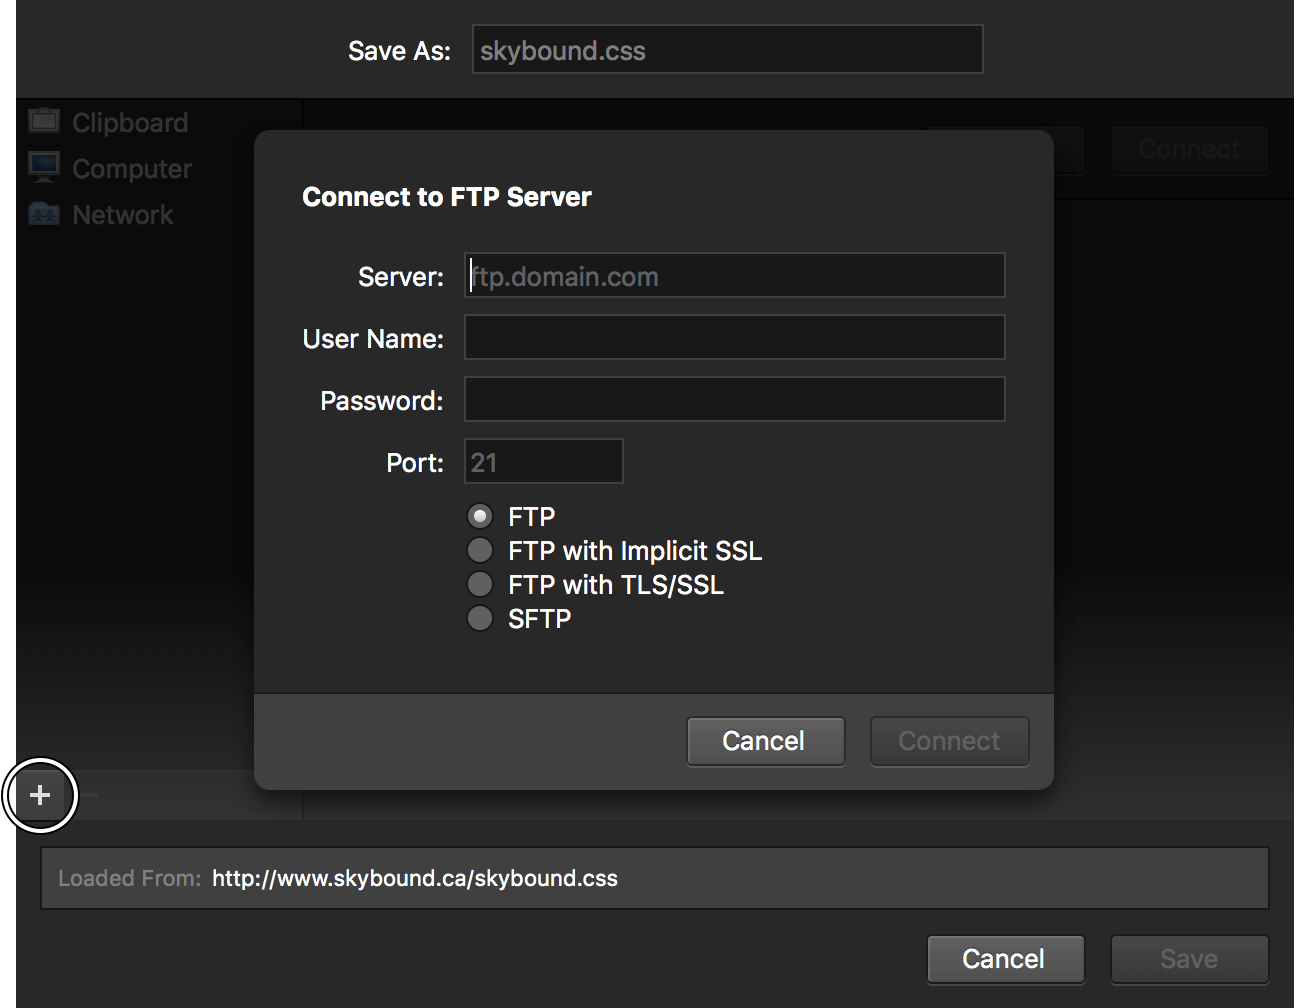
The file dialog displays these primary storage locations in a side bar on the left side.
Press the + button at the bottom of the side bar. You will be prompted for the connection details of the site (Server, User Name, Password, Port, and Protocol). Once you have entered the required information, click Connect to open a connection.
To disconnect from an FTP server, click the power icon next to an FTP item in the side bar.
Sometimes a CSS file cannot be saved directly to the file system. For example, some content management systems require custom CSS code to be entered directly into a control panel, or into a database.
For these situations, Stylizer can save the file directly to the system clipboard. It is then your responsibility to paste the code where it must go. To save to the clipboard, click Clipboard in the save dialog and press Save.
The benefit to saving to the clipboard as opposed to selecting an entire style sheet and clicking Copy is that when you save in this way, Stylizer can track your changes for you so you know whether the CSS has unsaved changes or not.
Back to topStylizer downloads CSS files just once when the web page to which they are linked is first loaded. Unlike a web browser, Stylizer does not download the CSS again if you switch pages or refresh—it always reuses your working copy.
Therefore, if a CSS file is changed by another means, you must manually reload it in order to see the changes in Stylizer. To reload a CSS file, click File→Revert, or right-click on the CSS file's tab and click Revert.
To refresh the web page (without reloading CSS), press Ctrl+R (⌘R on Mac).
If you have a backup copy of a CSS file you are editing, and you would like to restore the backup, click File→Revert to Copy. This action replaces the contents of a CSS file with contents of a file that you choose.
Back to topStylizer is a strict environment for CSS formatting. When you open a CSS file, Stylizer analyzes it to determine things like indentation (whether it uses tabs or spaces), where the braces are positioned, and how code is spaced. Later, when you save the file, Stylizer automatically formats it so that every line matches the formatting style of the file.
In most cases, this eliminates the unnecessary burden of formatting altogether and allows you to focus on editing. However, there are still situations where fine-grained control over formatting may be required.
To explicitly specify formatting options, click File→Formatting... or right-click on the CSS file's tab and click Formatting.
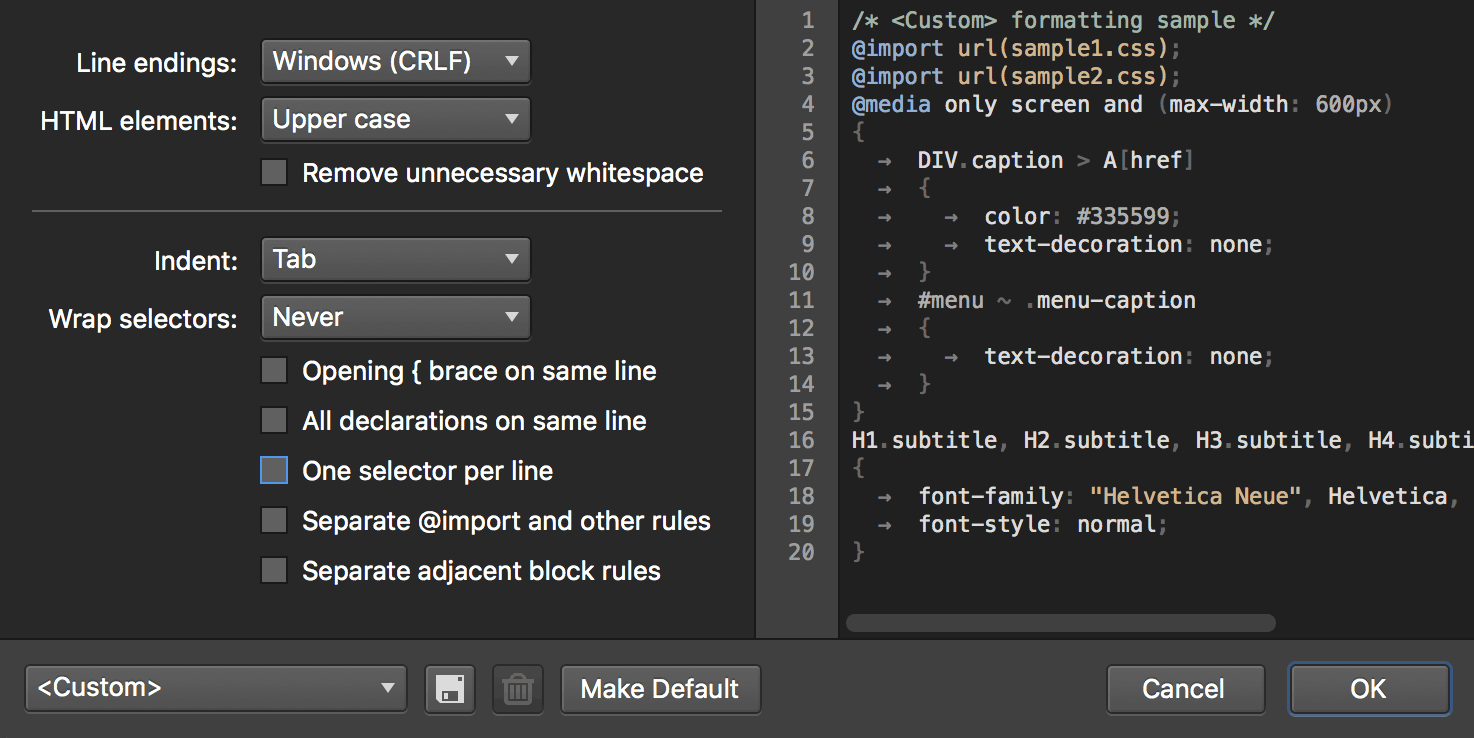
Use the options on the left side to control how the file is formatted. You will see a preview of the formatting on the right side.
To save a preset, click the save button at the bottom of the window and enter a name. Saving a preset makes it easy to select the formatting style again for another file.
Stylizer allows you to mark one of your presets as the default. This preset is applied automatically when you create a new file, and always used when you copy CSS to the clipboard. To mark a preset as default, select a preset and click Make Default at the bottom of the CSS formatting window.
Back to top